

This helpful guide will tell you all you need to know about keeping your vinyl records clean.
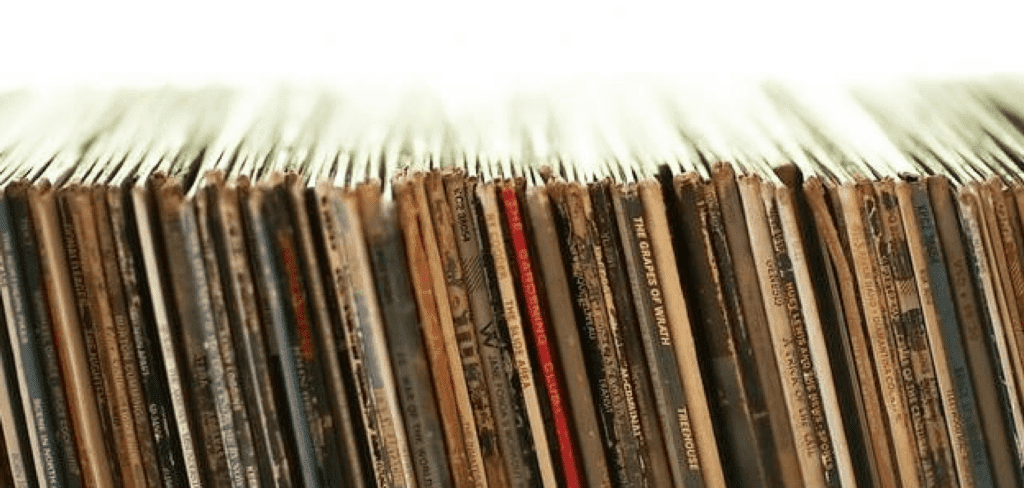
Your vinyl records will look and sound much better than the digital alternative. But only if they stay clean. Unlike mp3 files or streams, records are prone to gather fluff and dust, which can lower the sound quality during playback. That’s why keeping your records in pristine condition is an important part of having a vinyl collection. Here is our detailed guide to help you do it.
Why do records get so dirty & dusty?
Records get dusty and dirty because of static electricity, which builds up on the record surface, attracting dust and other dirty into the grooves. Static electricity can stay on a record even if you are not playing it. If you feel resistance when pulling a record out of its sleeve, it has too much static and needs cleaning to avoid future dust buildup. Once a record is covered with dust you will need to think about cleaning it in order to maintain the best playback sound, and to avoid damaging your record player’s needle.
What will I need to clean my records?
The first step in the record cleaning process is to buy the right equipment. You’ll need either a brush or a cloth to remove the dust from your LP’s grooves.
The cheapest option is a microfibre cleaning cloth. Available from around the £5 price point, microfibre cleaning cloths may not be as effective as the alternative, but they certainly won’t break the bank if you are on a budget.
The most highly recommended vinyl cleaning implement is a carbon fibre record-cleaning brush. These cost around £15, and the main advantages over the microfibre cloth is this: brushes are made from a special material that will remove static electricity from your LPs, preventing them from attracting any more dust for a little while.
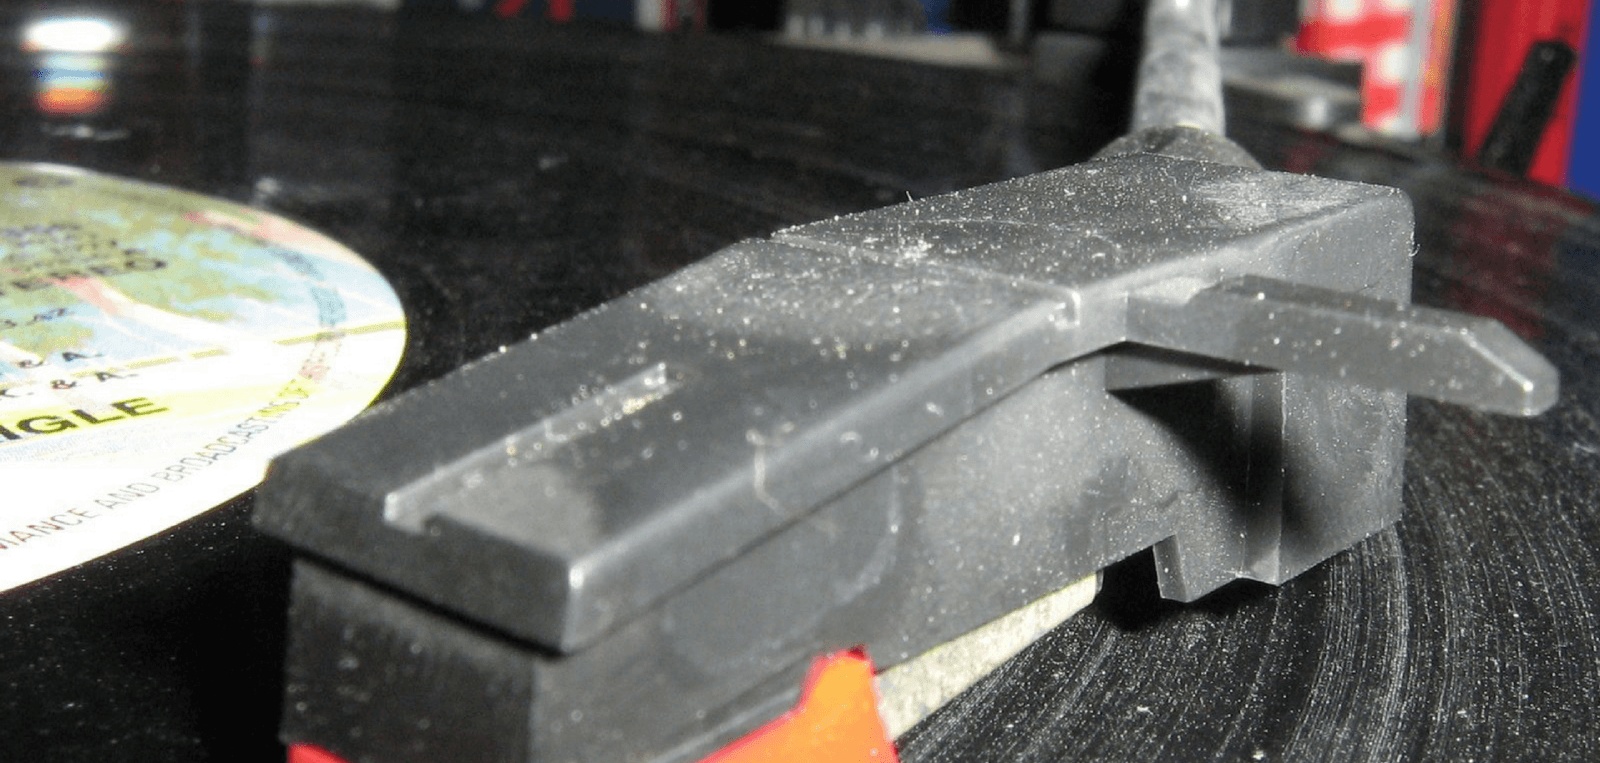
Aside from a brush and a cloth there are some more experimental implements for cleaning records. One of these is a record cleaning arm. Costing around £20, these arms can be fixed to your turntable to clean as you play. Another more high tech tool for record cleaning in a vacuum extraction machine, which many experts describe as the only true way to clean your records. Since these machines cost around £500, our tips will focus on the cleaning technique that requires a brush or cloth.
Aside from this more special equipment you will need:
– A soft and absorbent cloth
– A bowl
– Water (preferably distilled water)
– Soap (washing up liquid is fine)
Once you have your equipment, you are ready to start cleaning.
How to clean vinyl records
Step 1: Remove the surface dust
Lightly brush your record-cleaning brush over the surface of your record. Do not apply pressure to the brush, as it is only meant to provide a surface-level clean without penetrating the LP’s grooves.
You can also use a microfibre cloth for this step, again gently removing the top layer of dust before you move onto the deeper clean.
Step 2: Create your cleaning solution
Your record cleaning solution should be made mostly of mildly lukewarm water. Not too hot, not too cold. This way your hands and your records will not be damaged during the cleaning process.
Once you have your bowl of water, add the tiniest bit of liquid soap (such as dish washing liquid). There is much debate in the record-collecting world as to how much soap you should use in your cleaning solution.
The consensus is to use as little as humanly possible, with some even advising you don’t use any at all. The reason for this is that all soap will leave residue, which could be a problem when playing your records back after cleaning them.
Step 3: Begin washing
Wrap the cloth over your forefinger and dip it lightly in your cleaning solution. Make sure you dip it in so lightly that the cloth is still almost dry, that way it will not leave water on the record surface, which is very difficult to dry.
Rub your cloth covered finger around the record in a circle, just like a big, wet, soapy stylus. “Play” the whole record with your finger, clockwise and anti-clockwise, and make sure you don’t get the label wet. This is very important.
When your cloth gets dirty – this could be during the first “rotation” or near the end of your cleaning session – use another art of it. Otherwise you will just be rubbing dirt into the record.
Repeat the cleaning process until your cloth picks up no more dirt.
Step 4: “Rinse” the record off
When you are finished rubbing soapy water onto it, get a new bowl of pure distilled water with no soap in it. (If you didn’t use any soap you can use the same bowl). Rub the record again to remove any soap residue.
Step 5: Enjoy your clean record!
Repeat this process whenever necessary, and store your records well to keep them clean. If you are not satisfied with the results, you might have to invest in a professional record cleaning machine, or track down another copy of the record, which may well be the cheaper option!
Image by Crispin Semmens – https://www.flickr.com/photos/conskeptical/369836847/, CC BY-SA 2.0, Link